
The purpose of this post is to enable a beginner to understand Exposure Settings (Aperture, Shutter Speed, and ISO) on a DSLR/Mirrorless Camera.
Let us start with the definition of Exposure!
Exposure is the amount of light reaching the camera sensor. i.e., how bright or dark is the image.
Now let us learn how to adjust the exposure.
Three settings that work in tandem to control exposure are, Aperture, Shutter Speed, and ISO. Commonly referred to as Exposure Triangle.
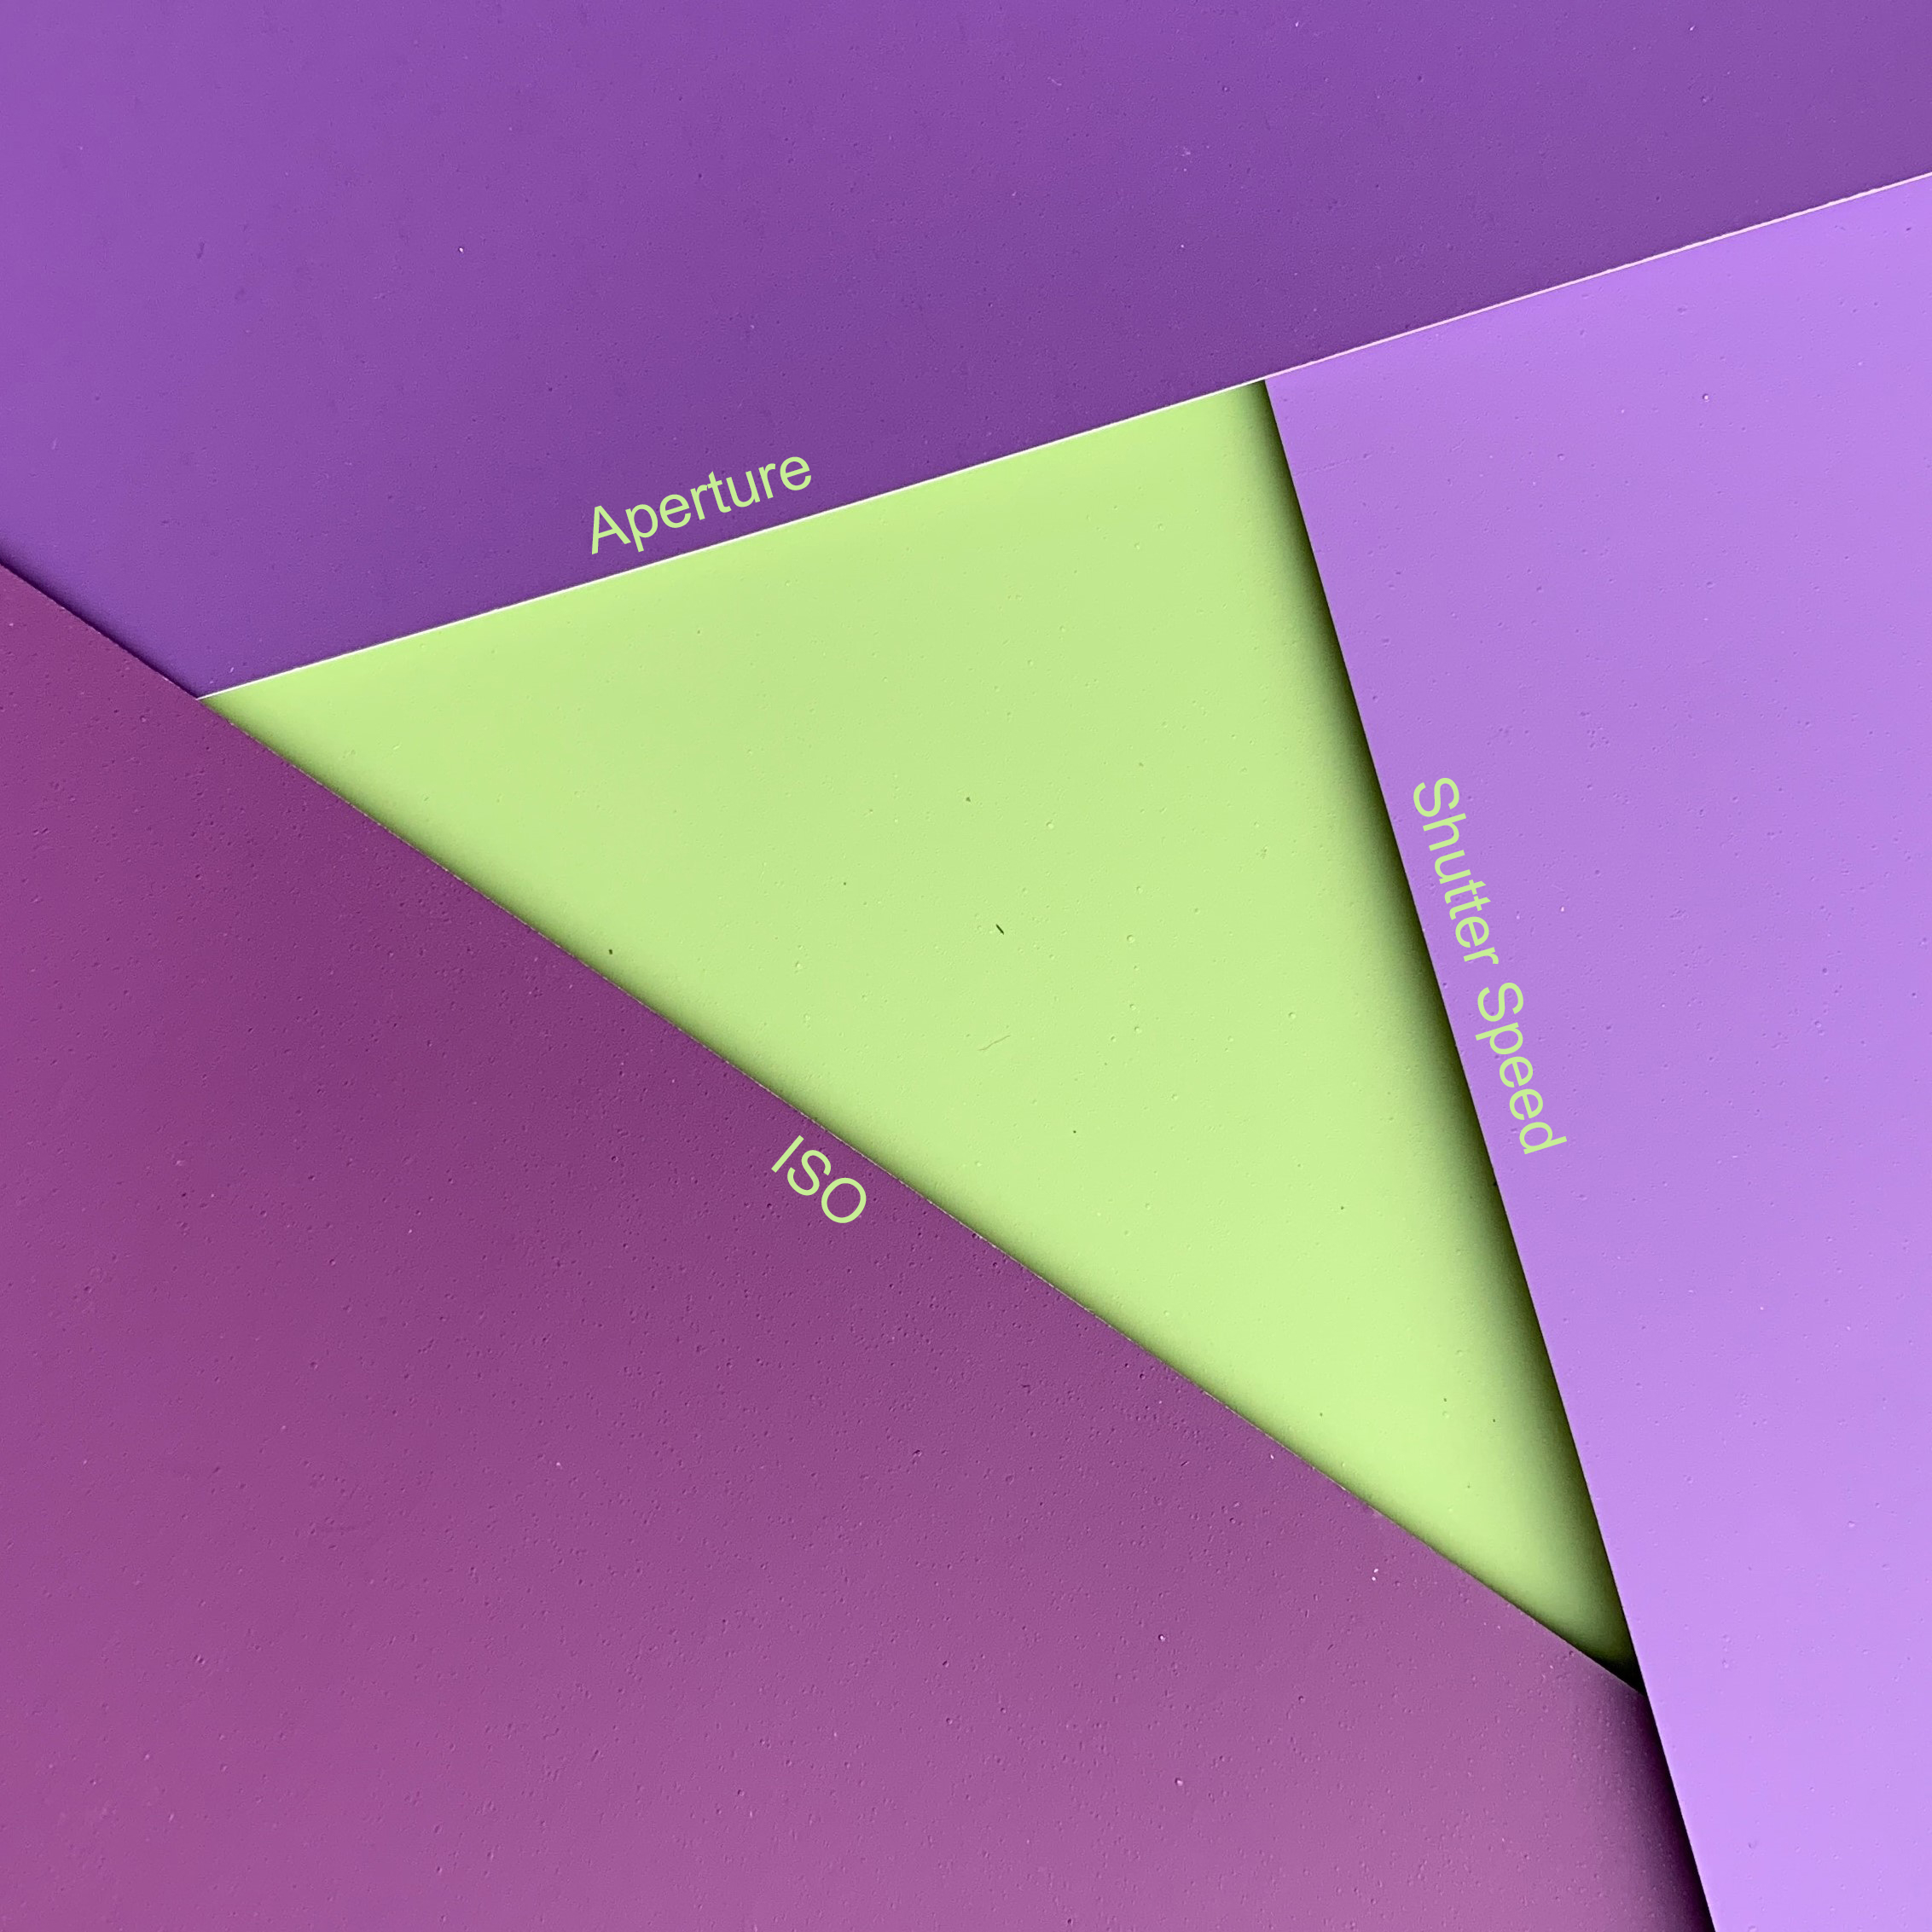
Aperture: The aperture is the opening created by a diaphragm inside a lens. Bigger the opening, more of light will reach the sensor. Hence, to make an image bright, you need to open the diaphragm, I.e., wide aperture (F/1.4, F/2, etc). Inversely, to make an image darker, you need to close the diaphragm, i.e., narrow aperture (F/8, F/11, etc). However, aperture also effects the Depth of Field (DOF) or bokeh (I have explained the effect of aperture on DOF in the post titled ‘Focus’).
Hence, if your concept involves around producing maximum bokeh, you have no option other than selecting the widest possible aperture.
Shutter Speed: The shutter speed is the amount of time a shutter (a curtain in front of the camera sensor) is kept open to let the light reach the camera sensor. The shutter speed is measured in seconds. Unless you are taking a long exposure photograph, the shutter speed is kept in fractions (1/160 sec, 1/200 sec, etc) to produce sharp images. Bigger the denominator, faster will be the shutter speed and shorter is the amount of time the shutter is kept open. For example, 1/4000 sec is faster than 1/160 sec.
Additionally, while hand holding the camera, slow shutter speeds usually result in blurry images caused by camera shake. The camera shake is the movement captured by the sensor while the shutter is open. This capturing of movement results in blurry mushy images. Hence, a common rule is to keep the shutter speed at 1/focal length and above. For example, for an 85mm lens, minimum shutter speed should be 1/85 sec.
Having said that, shutter speed of 1/85 sec is way too slow for capturing a moving car or any other fastmoving subject. If you select a slow shutter speed, the subject will move across the frame while the shutter is open, causing the subject to appear as a blurry streak in the image. Consequently, to freeze the motion, you need to select considerably faster shutter speeds. Not so simple right!
So, while choosing the optimal shutter speed, you need to strike a balance to lets in just the right amount of light, so as an image is not too bright or dark and that can freeze the motion.
ISO: during film days, ISO specified film sensitivity (wiki). In DSLR/Mirrorless cameras, ISO specifies sensitivity of a sensor. Higher the sensitivity, more of light will be captured by the sensor and brighter will be the image. ISO can be extremely advantageous in situations when you cannot change aperture or shutter speed.
In film, ISO is measured in 100s, such as ISO 100, ISO 200, ISO 400. Similarly, following the same trend, DSLR/Mirrorless also measure ISO in 100s. Most systems have a base ISO of 100. Hence, to brighten the image by 1 stop, you need to double the ISO, i.e., ISO 200. Similarly, for 2 stops, ISO 400 and so on.
On paper, ISO seems to be the magic setting to control the exposure. However, unlike aperture & shutter speed which are physical settings, ISO is a digital process executed by the camera processor. We all know, there is always a trade-off in enhancing something digitally and in case of ISO, it is the grainy noise. Hence, you should always stick to base ISO and you should bump up ISO only as a last option. Having said that, modern DSLR/Mirrorless are quite capable of handling high ISO values.
MORE…..
Now that we know how to adjust the exposure, question arises what is the optimum exposure?
Answer: We can judge the exposure of an image in 3 ways.
- Eyes
- Camera/ Exposure Metering
- Histogram
Eyes: All modern cameras allow you to preview the image, just have a look and if it feels right, it is probably exposed right.
Camera/ Exposure Metering: DSLR/Mirrorless cameras have a sensor that can measure the amount of incoming light in a frame. The measurement is indicated on a scale. The scale has a 0 in the middle with negative values on left and positive values on right. 0 indicates a correctly exposed image, negative values indicate an under exposed or dark image and positive values indicate an over exposed or bright image. Larger the positive/ negative values, brighter or darker will be the image.
However, camera light meter does not always indicate correct values as the camera light meter is designed to measure an average of 18% grey or middle-grey in a frame. Hence, an image with a lot of shadows or bright areas will result in under exposed or over exposed readings.
Histogram: The histogram is an advanced tool to indicate exposure distribution in a graphical manner. It can indicate both luminosity and RGB color values. The graph has 3 sections: shadows/darks, midtones and highlights/whites. The extreme ends of the graph indicate existence of pure black and pure white areas (‘blown out areas’) in an image. The pure white or pure black areas does not contain any details.
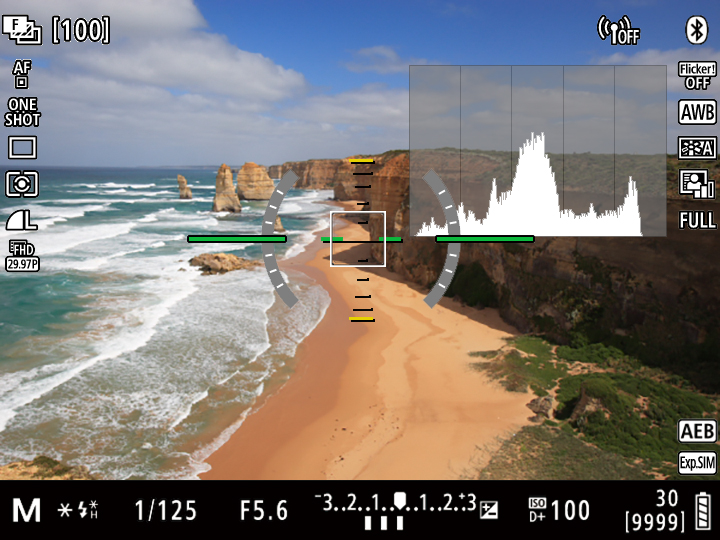
Hence, a graph majorly on left side without touching extreme left border, indicates an image with lots of dark/shadow areas; but no area of the image will be pure black or lacking details. Inversely, a graph majorly on right side without touching extreme right border, indicates an image with lots of bright areas; but no area of the image will be pure white or lacking details.
Accordingly, an optimally exposed image will have the histogram graph looking like a camel hump, with majority of area in middle midtones, with small areas on both left shadows side and on right highlights side.
Pingback: 5 Must-Have Camera Accessories - Nenmeet Singh
Pingback: The Shutter - Nenmeet Singh
Pingback: Mixing Flash & Natural Light - Nenmeet Singh
Pingback: Flash Exposure - Nenmeet Singh